
Hytale is a brand-new survival game heavily inspired by Minecraft, and with all the new people flooding in, there’s a lot of content to unravel. As we speak, people are still figuring out a lot of the game’s mechanics, so to help you thrive in the game’s world, I’ve got a few tips to help ease you in to this unfamiliar territory.
Just a quick note: I might edit this in the near future as new updates roll out and new methods for doing stuff are discovered. The game’s only been out for a couple of days as of writing this, and a lot can change over time. Let me know in the comments below if you’d like to add something or suggest changes!
Tip #1 – Unlock Memories ASAP!
Hytale has a system called “Memories” wherein you record every new creature you encounter and manually register them into a sort of index. Collecting these let you unlock all sorts of perks, such as the ability to craft various items and furniture. These rewards will be expanded later on, so it’s definitely something you should get used to as early as now.
At the moment, the index itself is just that, a list of creatures that you’ve encountered and the biome where you discovered them. Aside from the rewards, it’s just a neat feature to incentivize exploration, and I’ve gotten 144/240 of the current entries as of writing this.
How to Unlock Memories
You can unlock this feature as soon as you spawn into the world! To do this, simply follow these steps:
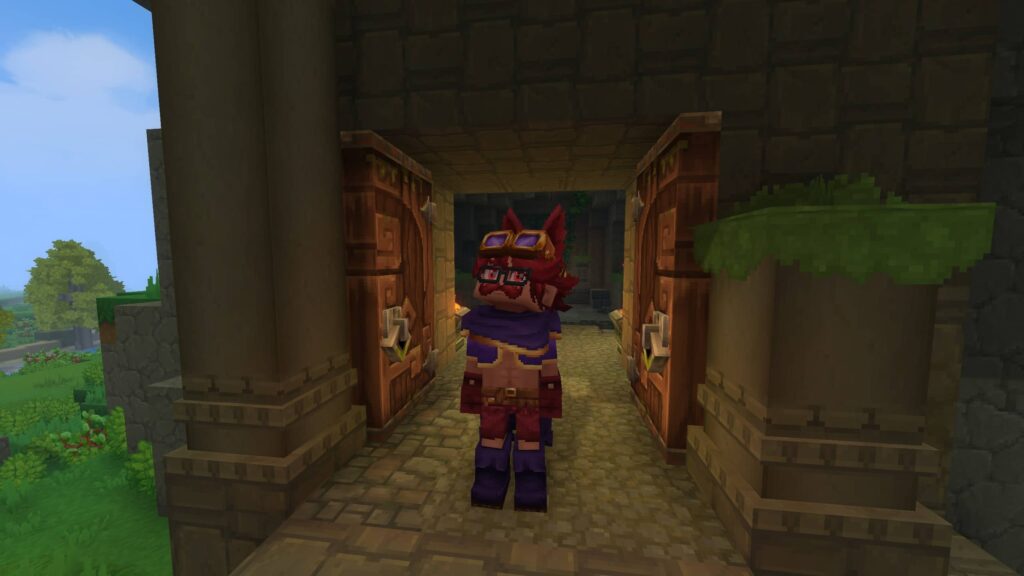
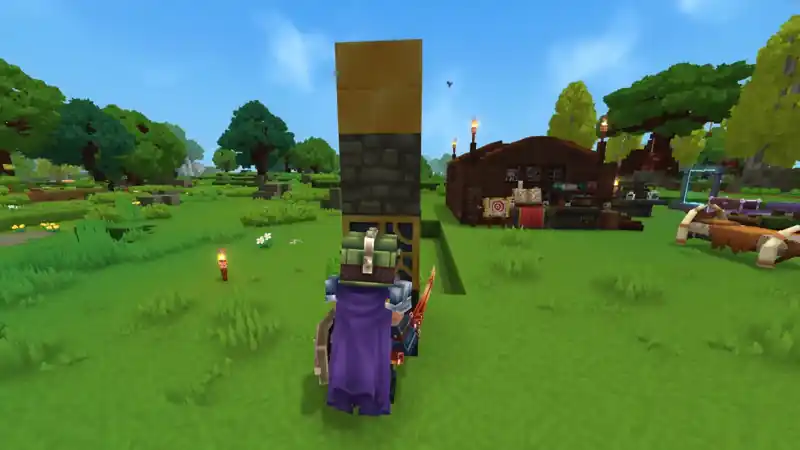
- Check your compass or map (press M) and look for the Forgotten Temple Gateway with the swirly portal icon.
- Head over to the nearest one. The entrance will have a statue outside accompanied by a brazier with blue flames.
- Enter the temple and go underground.
- Ignore the golem and walk straight into the portal. You don’t have to fight it, and it’s a waste of time if you haven’t even crafted a weapon yet.
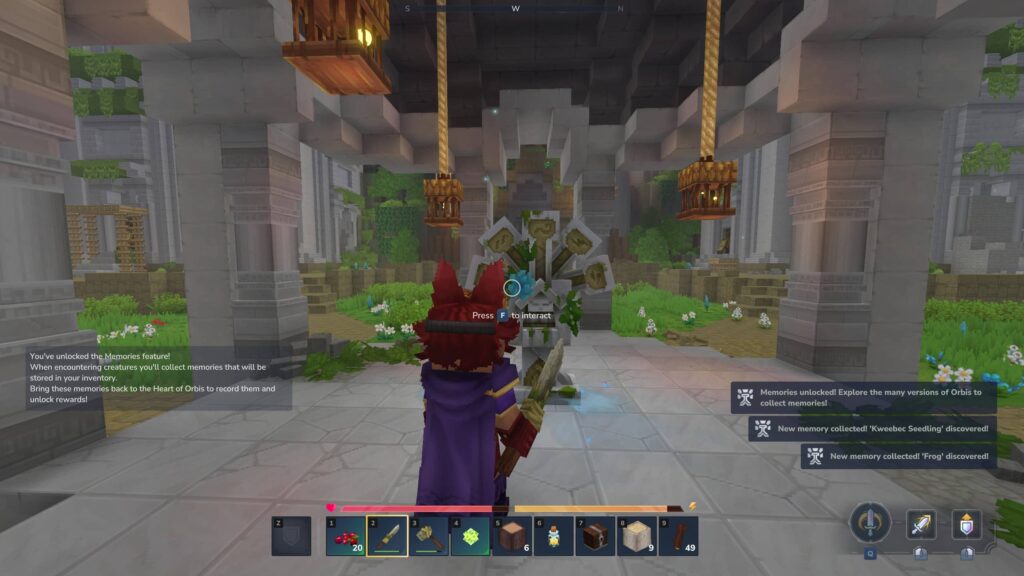
- Walk straight towards the Heart of Orbis, which is the statue in the middle of the Forgotten Temple.
- Interact with the statue. You should get a notification that you’ve now unlocked the Memories feature!
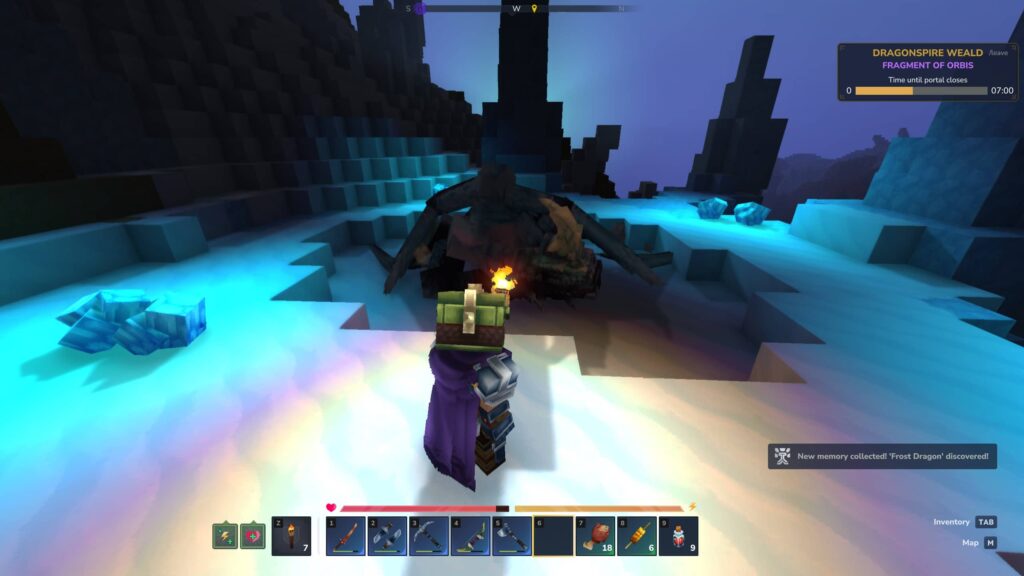
From here on out, every new enemy you walk close to will be “discovered”, as indicated by a blue particle effect flying towards your character. Before you leave the temple, walk around a bit to record your first few memories, as there are various animals and NPCs around the Heart of Orbis!
One thing to note is that you can only carry 48 memories at once. I learned this the hard way when I noticed that new enemies weren’t getting recorded, so make sure to revisit the Forgotten Temple every now and then. Other gateways (which look different) that lead to this area will spawn all around the map, so you don’t have to keep returning to the one near spawn!
Tip #2 – Craft the Sword and Daggers
Traversing the game’s vast biomes can be a bit of a slog, especially once you’ve started progressing past copper and iron. Until you can unlock teleporters, you’ll have to walk back and forth between your base and the sand/ice biomes to gather higher tier ores.
In the game’s current state, you can spam the sword and daggers‘ charge attacks to zip across the map in no time. This may get nerfed at some point, but at the moment, it’s the best way to cover a lot of ground and outrun pretty much any enemy in the game.
It’s a bit cheesy, but this is how these two weapons can be used for traveling:
Daggers – Bunnyhopping
- Hold the jump button (you will start hopping) and charge attack towards your desired direction.
- Quickly swap to another weapon/tool and then back to the daggers. This cancels the attack animation.
- Wait for stamina to regenerate and continue doing it until you reach your destination.
It should look a little something like this:
I believe there’s ways to execute this that won’t drain stamina somehow, but it’s hard to do consistently(They patched this). Either way, even if you keep getting your stamina to zero, keep in mind that you currently only need a tiny bit of it to start charge attacking.
Even if it has barely regenerated, you can dash forward without any issues, and with certain food buffs, you’ll usually be able to chain another charge attack before you start losing too much speed.
Swords – Lunging Jumps
For swords, they’re great for reaching heights that you couldn’t normally jump to. Its charge attack causes you to lunge towards the direction you’re looking at, and this works vertically if you jump at the right time.
Simply hold the jump button just as your charge is about to finish. If done correctly, you’ll lunge across the air rather than straight forward on the ground. This can take you a few blocks higher than normal. For reference, you can normally jump up to 4 blocks high.
Here’s another animated GIF to show you what normal jumps vs a lunging jump looks like:
You can do this with daggers too, but the sword allows for slightly more precision if you’re trying to climb a mountain and don’t want to overshoot or bounce backwards!
Tip #3 – Ores Spawn in Specific Biomes
Early on, you’ll find a ton of copper and iron in the very first zone, which mostly consist of varying forest biomes and a swamp. As you start progressing to the next tier of gear and workbenches, you’ll need to travel away from the starting zone and into new biomes further away.
Below is a list of materials that you’ll have to mine in this initial early access version of Hytale. Click on the ore names for a more detailed guide!
- Copper/Iron: Spawns pretty much anywhere.
- Thorium: Commonly found in desert biomes.
- Cobalt: Commonly found in snowy biomes.
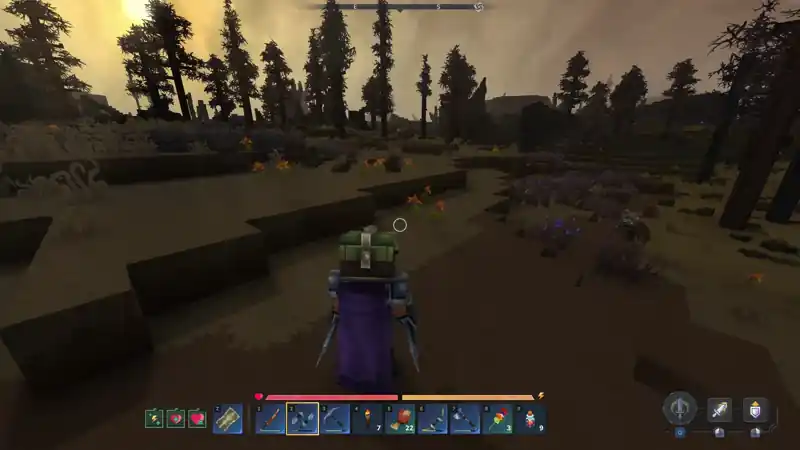
- Adamantite: Volcano biomes/islands
It’s worth noting that some players have had issues with certain ores not spawning where they’re supposed to. This is especially true for adamantite, which just refuses to spawn in volcano biomes sometimes. If this happens, you have to check a new island or just generate a new world and hope for the best. (They’ll likely fix this with the upcoming world generation V2!)
Ore Mining/Gathering Tips
Hytale, at least in its current state, spawns a ton of ore on the surface, and entire mines and natural caves show up everywhere. You don’t need to do any sort of strip mining technique to find valuable resources. In fact, I think the current version of world generation discourages that.
Just focus on finding a pre-made entrance to the underground areas. There’s plenty of them in literally every biome! Check for structures in your map as well. Mines are amazing as they have lots of ore deposits and chests that contain more resources (and sometimes decent gear). Just be ready for a fight, as they usually have a ton of NPCs guarding them.
With Update 2, they’ve changed pickaxes a bit, and adamantite will now require Thorium or better pickaxes. Higher tier pickaxes also break blocks faster now!
A good habit to have at this point is to upgrade your pickaxe whenever you get to new tiers, as you’ll have an easier time overall with the next biome you have to mine in.
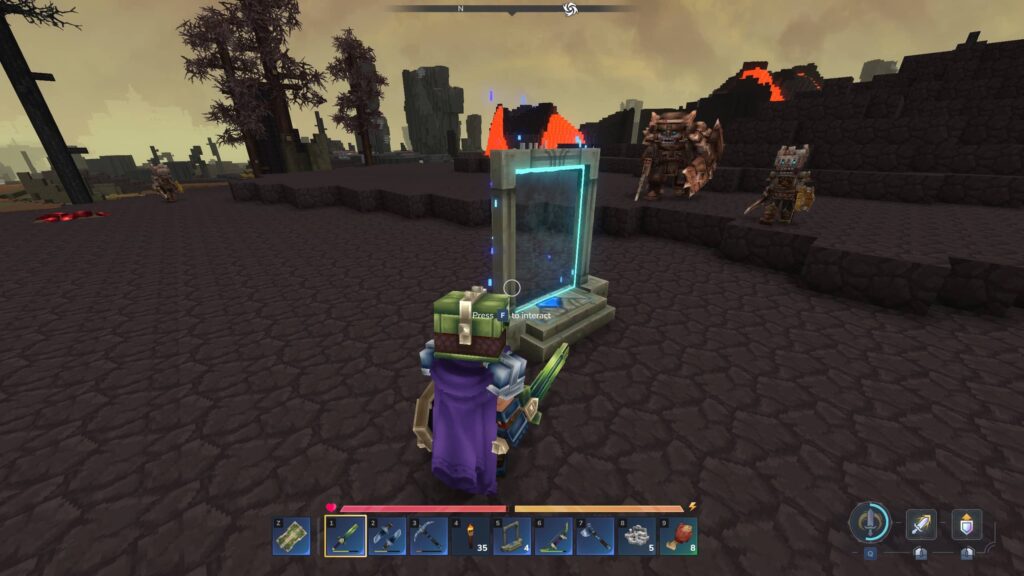
Tip #4 – Bring Teleporters With You
Once you’ve progressed enough to craft the Arcanist’s Workbench, you can now make teleporters. These structures act as fast travel points that you can plop down pretty much anywhere in the map. Each of these only costs the following materials:
- 8x Azure Logs
- 2x Azure Kelp
- 10x Any Stone
These azure resources are found in the patches of blue forests in the map. Just chop any of the dark trees in those areas to get the logs. For the kelp, you’ll want to look for glowing plants in the water. They’re hard to miss, especially at night. If you can’t find any kelp, you may need to travel further from spawn.
Teleporters are essential if you want to efficiently gather higher tier resources, and they stack in your inventory. Personally, i like putting one in every new zone, which means a portal in a desert biome, one in the snow, and another in a volcano. You can always move the portals when you’ve exhausted all of the resources in that area!
Just bring a few with you everywhere you go. This helps a lot in early access, as you may occasionally run into messed up islands that have literally nothing but trees and stones/dirt in them.
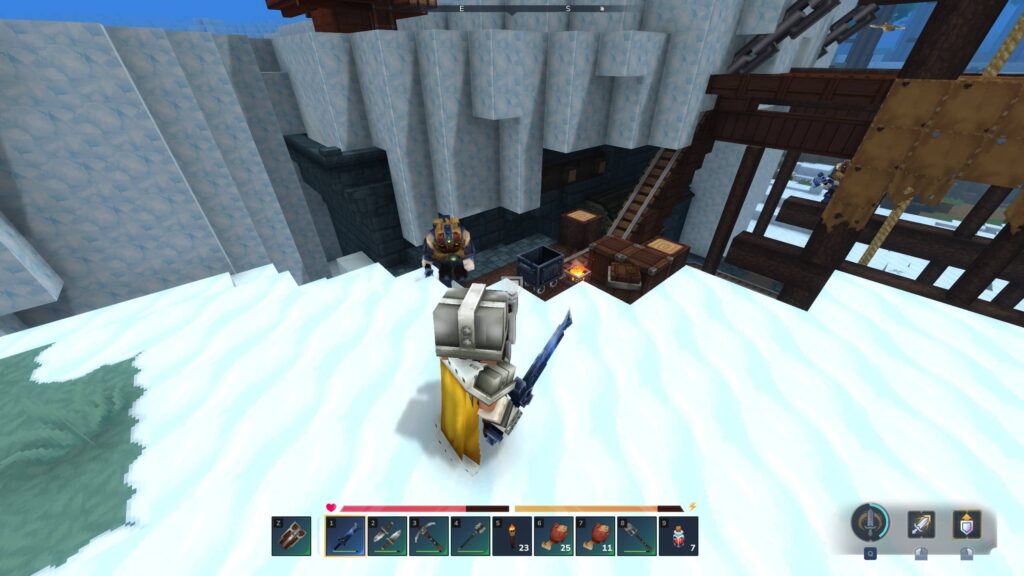
Tip #5 – Workbenches Use Nearby Chests
In case you weren’t aware, your workbenches can actually use materials stored in nearby chests. In fact, you can even use workbenches from around 4-5 blocks away. If you love being efficient, design your base in a way where everything is within reach.
To see whether a crafting station is going to take from a nearby chest’s resources, look for the chest icon beside the item requirements of whatever it is you’re trying to make. This indicates that one or more of your chests nearby has the material you need.
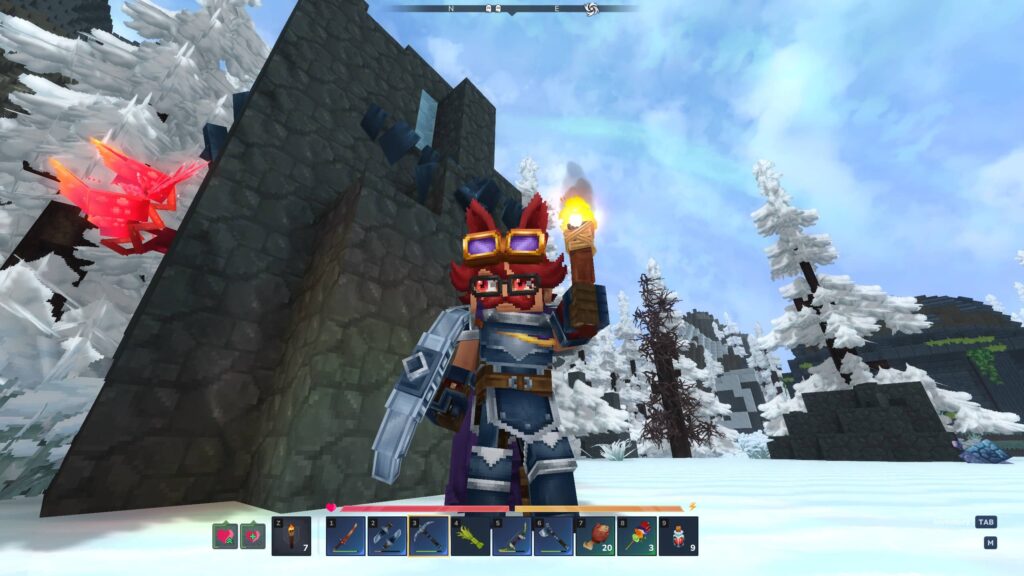
BONUS TIP: You can equip torches in your shield/off-hand slot. This lets you hold it while a one-handed weapon or tool is equipped. Insanely handy for mining or walking around at night!
And that’s a wrap! The game’s still very fresh, and a lot of updates are going to come in the future. For now, enjoy the work-in-progress sanbox for what it has at the moment, which is already a lot!