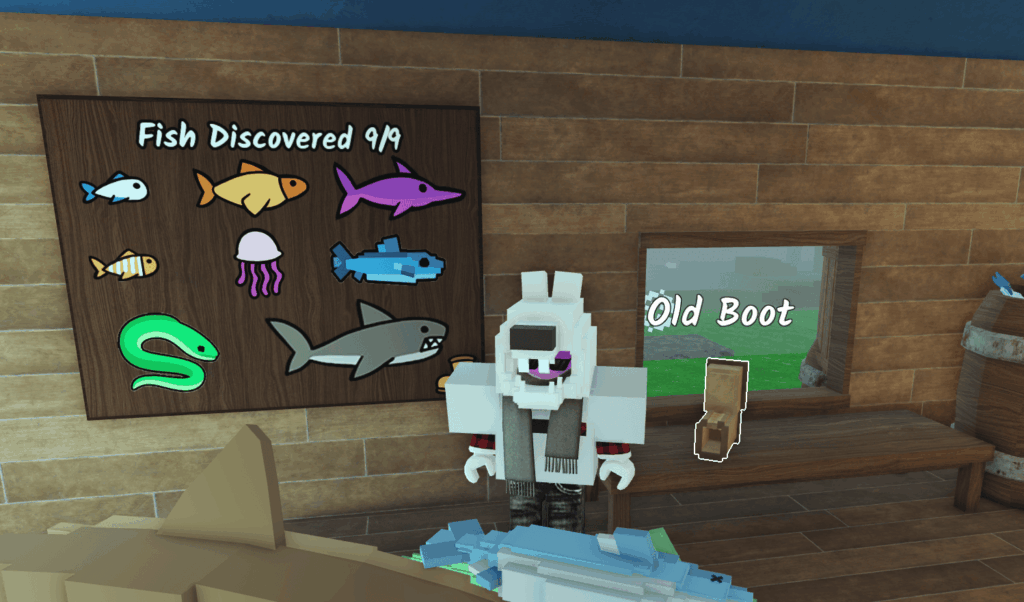
Now that 99 Nights in the Forest has fishing, it should’ve been obvious that they’d add some collectibles and event badges tied to them. I found some time to grind it out and I finally got the entire fishing index done in a single run, so if you’re still struggling, I’ve got a few tips here for you.
By the way, a video version of this guide is available below too, if you prefer watching/listening instead. Feel free to subscribe if you want to stay up-to-date, as I make these pretty often!
The Challenge – How Do You Get All 9 Fish?
If you somehow stumbled into this while still unfamiliar with the fishing mechanic, I go through all the essentials in my full fishing guide for 99 Nights in the Forest, so go check that out first because I’ll be speeding you through the steps I took to get the badge.
Now, to get the “Fishing Trophy” badge, you have to max out your campfire as soon as possible. You’re gonna need to explore each of the biomes in the map to get all of the fish within a reasonable amount of time.
In a nutshell, here is where you can find all of the fish based on my own experience:
- Low Level Ponds (Blue):
- Mackerel (Common)
- Salmon (Uncommon)
- Swordfish (VERY Rare)
- Mid Level Ponds (Green/Teal):
- Salmon (Common)
- Clownfish (Uncommon)
- Jellyfish (Uncommon)
- Shark (EXTREMELY Rare)
- Max Level Ponds (Dark blue with bones):
- Swordfish (Common)
- Shark (Rare)
- Old Boot (Rare – Yes, it’s one of the “fish” you need for the badge)
- Snow Biome Ponds (Inside the Fishing Huts)
- Char (Common)
- Eel (Uncommon)
There’s a few things to note here, though. The main thing is that some of these can appear in other places too. For example, I got at least one jellyfish from the max level ponds. The old boot, on the other hand, might show up in any of these ponds. I found mine in a max level one.
For the snow biome, make sure to bring some warm clothing before you start fishing there, cause it can take you a while to get the eel. Just in case you have no idea what the fishing huts look like, here’s an example of one from my video:

Base Building Tips to Speed It Up
Getting this badge is really just a straight up grind while you’re trying to survive, so take your time with it and make sure to get back to camp at night to avoid getting killed by either the owl or deer. You wouldn’t want to work your way towards getting a strong rod only to die to impatience!
The shark and old boot are probably going to be the real “wall” that you’ll face with this challenge, because you’re gonna want to travel all the way to the max level biome for them. Needless to say, you’re gonna want to build a boost pad as soon as possible.
Later on, you’ll want to make some teleporters too. However, I highly recommend only making them if you find a spot that has multiple ponds close to one another. For example, in my video linked at the start of this guide, my teleporters are in spots where there are 3-4 ponds nearby.
The reason for this is that you’ll want to check them after every night to see if there are any hotspots. Look out for any ripples on the water, because these hotspots will let you catch fish so much faster, and with several ponds nearby, you’ll have much higher chances of seeing one (or multiple if you’re lucky).
And that’s all I’ve got for you, because it all boils down to having decent luck and a bit of patience. With these tips, you should at least be able to build a setup that will make it a whole lot easier. Good luck!

