
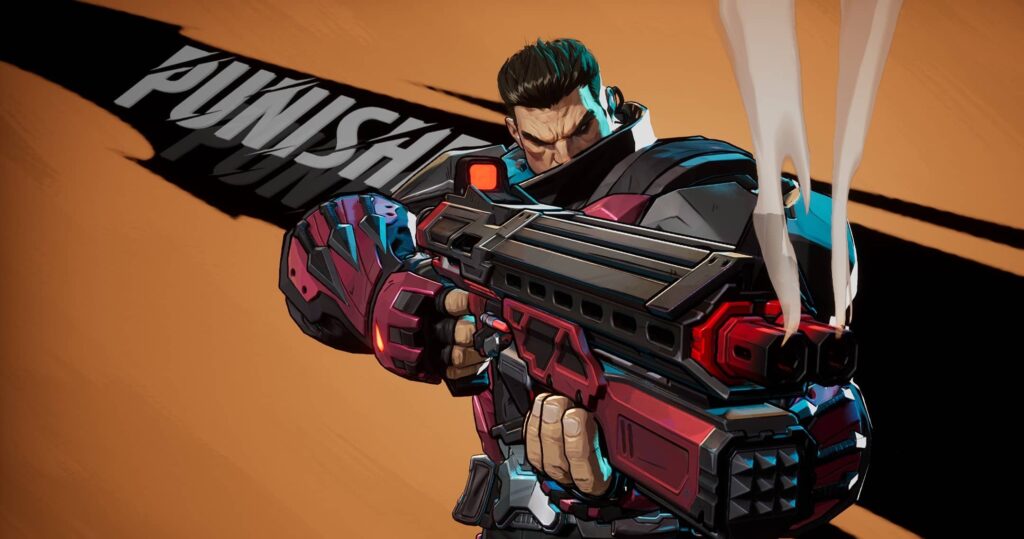
Every hero shooter has its plain “soldier” archetype, and The Punisher is Marvel Rivals‘ version of that. As simple as he may be, at least compared to the rest of the cast, there’s actually a lot of nuance in his kit that raw aim isn’t the only thing to think about when playing him.
He’s great for both new and experienced players alike, and certain team compositions can make him an absolute monster. In this quick guide, I’ll be sharing some tips to help you get started with him!
Punisher’s Playstyle in a Nutshell
The Punisher is, as anyone familiar with him would expect, really just “a dude with guns” at his very core. He’s surprisingly versatile as he can excel at both poking from afar and bursting from up close due to him having a rifle and shotgun. With Final Judgement, he can shred key targets quickly or even straight up delete an entire group within seconds.
Your mileage will vary with him as one’s aiming skill will determine how effective he’ll be. If you can land a lot of headshots with either of your guns, you’re going to be an absolute beast in the lobby. Even if you’re struggling to hit heads, you can still be useful by landing body shots and applying constant pressure.
His Culling Turret can be a great zoning and stalling tool as it forces enemies to deal with you first before continuing to push, and it gives you a slight bit of survivability as long as nobody flanks you. In the event that you need to make a quick getaway or find a vantage point, his zipline and Scourge Grenade can help you get around.
With all of that in mind, let’s take a closer look at his abilities and how to take advantage of them…

Punisher’s Abilities & Team-Ups
As with my other guides, I’ll be going through his abilities in list format so I can insert some tips for each individual skill:
- Adjudication (Primary Attack – Rifle) – Adjudication is Punisher’s rifle, and it’s just your bog standard automatic weapon.
- You’ll be on this gun for the most part, and maybe get into the habit of spraying at around head or neck level so you can at least get some stray headshots even if your aim isn’t fantastic.
- Its damage falls off at long distances, so you may want to stay at around mid-range to deal some decent damage.
- Deliverance (Primary Attack – Shotgun) – This is Punisher’s shotgun, and it deals a ton of damage at short range.
- Swap to this when flankers are coming for your backline and you can potentially melt them before they can disengage.
- Pellets can headshot, so you can destroy people up close if you can safely walk up to them.
- Do note that swapping weapons has a short delay. Don’t wait until the last second if you want to swap, as you might lock yourself into the weapon switching animation in the middle of combat.
- Scourge Grenade (Secondary Attack) – Upon activation, Punisher fires a grenade that deals a small amount of damage and creates a puff of smoke on impact. He also leaps backwards at the same time.
- This is great for a quick disengage when things get hairy, such as when a melee character catches you off-guard.
- On the flip side, you can also use it aggressively and charge towards enemies with it, or at least get to a fight faster if you’re nowhere near the action.
- Culling Turret (E) – When activated, Punisher creates and mounts a stationary turret. This thing has a decently high fire rate and a lot of ammunition.
- The turret has 600 HP, which is separate from your own health pool. Enemies can deal direct damage to you if they can get behind the turret, so pay attention to your surroundings!
- Make sure that you’re deploying it at an angle where it’ll get some use. Even if it isn’t destroyed by enemies, dismounting will still put it on a 20-second cooldown.
- It’s often used as a zoning tool, but you can get some nutty kills with it if you can set it up in an unexpected angle.
- Deploying it at the right time can also save you from a few ultimates, such as Jeff’s. I’ve seen someone facetank a few shots of Hela’s ult with it too. I personally don’t like going for risks like that, but feel free to experiment with it if you want.
- You can also use it to stall on/near the objective if you’re waiting for teammates to arrive. It’s essentially a free life, as long as nobody gets behind you.
- This deals area of effect damage! Direct hits still does more damage overall though.
- Final Judgement (Ultimate) – When activated, Punisher will gain two gatling guns and a missile launcher. This mode lasts for ten seconds.
- Punisher is immune to crowd control effects (slows, stuns, etc.) while this is active.
- The gatling guns have an insanely high fire rate and will melt enemies that you aim at. The missile launcher, on the other hand, fires at nearby enemies automatically as long as they’re within your line of sight.
- No need to overthink this. Just hold the fire button throughout the whole thing!
- Combined with the damage buff of Rocket Raccoon’s ultimate, Final Judgement can actually easily break through the healing of support ultimates. Yes, even Luna Snow‘s (technically you can kill her without Rocket’s help, but you’ll need flawless aim).
- If you’re brave enough to try, you can launch yourself with Vantage Connection and activate it before you hit the ground. Speaking of which…
- Vantage Connection (Shift) – Fires a hook that creates a zipline on impact, which Punisher can use to travel to the target destination faster.
- On impact, Punisher is immediately zipped to the target area and gets thrown up into the air upon reaching the end point.
- You can use this to launch yourself into the enemy’s backline. This is done by pressing jump at around the mid-point of the cable, which launches you forward further than intended. (Animated example below)
- The above tip lets you pull off some cheeky shotgun plays, but it is incredibly risky as Punisher’s not really built for diving.
- You can re-use the ziplines until they despawn.
- On impact, Punisher is immediately zipped to the target area and gets thrown up into the air upon reaching the end point.

His passive is called Warrior’s Gaze, and there isn’t really much to note there. Basically, nearby enemies will be highlighted behind walls for a few seconds if they leave your line of sight.
Punisher’s team-up, though, is called Infinite Punishment, and it’s nuts. With Rocket Raccoon in the team, the little rat can deploy an Ammo Overload device that gives both you and Winter Soldier infinite ammo and faster fire rate, as long as you stay within its radius.
Ammo Overload has a cooldown of a little under a minute, so when your Rocket deploys it for you, take full advantage of it and melt everything in your sight! As long as it’s not being thrown at awkward positions, you (and Bucky, if you have one) can quickly wipe a team using the buffs. This is especially true if Rocket uses his ultimate, because your regular shots will deal almost Final Judgement levels of damage.
Proper Positioning Is Essential!
Punisher comes off as a bit of a glass cannon, as his utility/mobility is pretty lacking compared to most of the other DPS heroes. To keep yourself alive as long as possible and to be in the ideal range to bring a lot of value to your team, stay between the healers and tanks.
This puts you at the perfect distance to deal as much damage as possible with your rifle, while also leaving you room for some shotgun shenanigans. If you have Rocket Raccoon in the team, this also makes it easy for him to deploy the team-up for you whenever he deems it to be necessary.
Also, periodically check on your strategists. If the other team is pretty dive-heavy, your shotgun can easily turn the tides. Whether it’s a squishy target like Psylocke or a chunky Venom, a few well-placed shots with the boomstick will make them think twice about going in again.
Should You Try Flanking?
Flanking as the Punisher is risky, and I wouldn’t recommend doing it too often if ever. If you can somehow sneak into an odd position, you can setup your Culling Turret and harass the enemy’s backline while your team is engaging the front.
The issue is that you’re likely going to be a sitting duck if they shift their focus towards you. Try it maybe once or twice if the current objective allows it, and then just stay with the team if it doesn’t work.

Train Your Aim!
The Punisher is extremely straightforward, and the best tip is really just to keep practicing both your flicking and tracking. If you can somewhat consistently keep your crosshairs on people as you spray, you’ll be making a significant impact in your games.
As for who you should be targeting, this will be purely situational. Generally, you’ll want to prioritize strategists or duelists that are out of position. Shooting at tanks isn’t a bad idea though, especially if you can get close with the shotgun. Just apply pressure as much as you can, since forcing tanks to reposition will open up opportunities to go after the backline.
Flying characters are also another thing you should be focusing on, if there are any in the lobby. As a hitscan character, Punisher is one of the best counters for stuff like Storm and Iron Man as long as he can land his shots.
That’s really all there is to the Punisher. Good ol’ Frank Castle is one of the simplest DPS characters in the game, but not necessarily the easiest to master due to his heavy reliance on tracking and good positioning. If you’re looking for a more dive-centric character, you might want to try Star Lord instead. He requires the same mechanical skills but has a vastly different kit!
Wanna learn more? I have an entire post that covers all of the duelists in the game that should give you a general idea of what all the other options can do.