
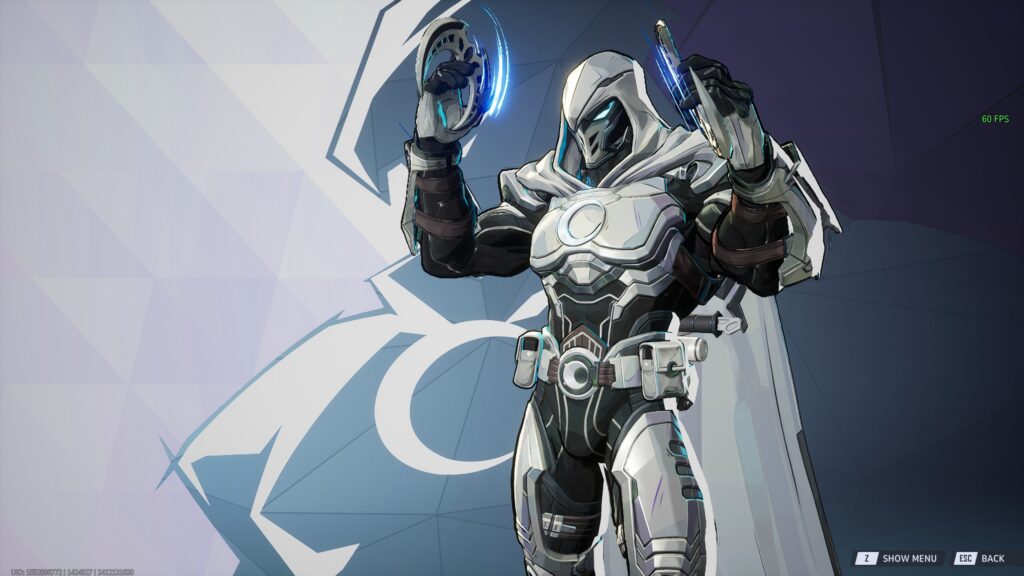
Moon Knight is a man of many personalities, and he’s a character whose aesthetic I’ve loved since my first exposure to him in the comics. He has insane AOE damage potential, but he requires some good positioning to really get things rolling.
In this guide, I’ll be sharing some tips that can potentially help you get some juicy damage numbers in your matches. Seriously, this hero can rack up multi-eliminations like crazy.
Moon Knight’s Playstyle in a Nutshell
Moon Knight is a duelist who excels at dealing a lot of damage to multiple targets all at once, as long as they’re clumped up. You see, both his basic attacks and secondary fire can bounce between enemies. With the help of his Ancient Ankhs (E), he can even pull enemies together and guarantee that his projectiles hit their marks.
His grappling hook helps him reach vantage points to get a better view of the entire enemy team, which also allows him to catch people off-guard with sudden bursts of damage. With his double jump and glider, he can easily reposition if enemies try to pressure him off his high ground.
He’s a menace in both mid and long-range engagements, and his main weakness is dealing with flankers or characters with high mobility. With all of that in mind, let’s take a closer look at his abilities…

Moon Knight’s Kit & Team-Up
As usual, I’m gonna do this in list format so you can easily check what tips I have for Moon Knight‘s individual skills:
- Crescent Dart (primary attack) – Much like Luna Snow, he throws three shuriken-like projectiles per attack, and these can bounce between enemies if they’re close enough together.
- The initial attack can headshot, but bounces will seemingly always go to the center of one’s body.
- It bounces between targets around three times, and it can hit the same person twice as long as they remain within range.
- Bounces between ankhs, but more on this on its own bullet point.
- Moon Blade (secondary attack) – Moon Knight will throw a large crescent projectile that functions the same as Crescent Darts, but slower and with slightly more damage.
- This should mainly be reserved for when you can bounce it, as it’s easy to miss and it’s outclassed by his primary.
- This is only one projectile, unlike his primary that fires three in quick succession. Make it count.
- It can headshot too!
- Ancient Ankh (E) – This causes him to throw a glowing ankh at the target location. On impact, it will knock up and pull enemies to the center while dealing minimal damage.
- These ankhs count as targets for bouncing Crescent Darts and Moon Blade. Using it against a single person will allow you to take advantage of the bounce mechanic even if they’re alone.
- If you shoot at the ankh, it will auto target the closest enemy inside its circle.
- You can use this to hit enemies behind cover, as long as they are within the ankh’s radius and there is a clear path between it and your targets. (See animated example at the bottom of this section)
- Don’t forget, enemies can break ankhs, and they will do so. The more competent your enemies, the faster it’ll get noticed and destroyed.
- You can still gain massive value out of them against teams that break them quickly. More on this in the next section.
- Midnight Hook (F) – Moon Knight fires a grappling hook at the target location and launches himself towards it.
- Firing this at your feet will cause you to launch directly upwards into the air. It’s essentially a super leap if used this way.
- This seems to pass through enemies, allowing you to pull yourself towards them.
- Night Glider (Shift) – While in the air, holding down Shift will allow Moon Knight to glide.
- You will get a prompt to glide on your screen that indicates when you can actually use it.
- Can be used in conjunction with your double jump or Midnight Hook to get to navigate around high ground.
- Rising Leap (Spacebar) – While in the air, Moon Knight can double jump by pressing spacebar once again.
- This has a cooldown of 6 seconds that will start counting down once you touch the floor or use the glider.
- Don’t randomly spam spacebar while running around to avoid accidentally double jumping and putting it on cooldown!
- Hand of Khonshu (Ultimate) – When Moon Knight uses his ultimate, he can choose a target location and open up a portal that will start dropping giant talons onto enemies for massive damage.
- This has a small radius, so pull enemies in with Ancient Ankh first to ensure that they get hit.
- It can be a strong zoning tool when you need enemies off the objective, or you can just straight up wipe them out at chokepoints.

SIDE NOTE: His quick melee (V) is also considered as an ability. Basically, every third hit with it will knock the target back and deal slightly more damage.
His sole team-up at the moment is with Cloak & Dagger. When they are on the team, Moon Knight can cast Full Moon, which creates a dome that will render him fully invisible as long as he is in it.
High Ground Is Your Best Friend
Use your Midnight Hook and double jump to reach high ground whenever possible. From there, you can throw Ancient Ankhs at the backline and immediately follow up with a Moon Blade and your primary fire to deal massive damage to healers and/or duelists. This will usually drop an enemy low or even straight up kill them before they can react.
(Just so we’re clear, by “immediately“, I mean quite literally throw out your right and left clicks as soon as you fire an ankh.)
The main problem with Moon Knight against more mindful players is that they’ll break your ankhs ASAP. However, by throwing in everything in rapid succession, you can dish out a ton of pain the moment the ankh hits the ground. By then, destroying it won’t matter anymore because it already did its job.
Even if they’re aware of your presence, staying perched up above them will let you bounce attacks behind shielding vanguards. Your attacks do not bounce through or from shields such as Dr. Strange’s, so as long as they aren’t able to force you out of high ground, take full advantage of that position while you can.
This is all dependent on team composition, of course. If they’re running a Hela who can aim well, you probably don’t want to stay up there for long.
What If There’s No Vantage Point?
You can always play with your team and occasionally double jump to throw an ankh and bring enemies together for your bouncing attacks. Look for odd angles too, because there will almost always be an opening to sneak in some Crescent Dart hits or a cheeky ankh placement.
Remember, ankhs will stick to pretty much any surface on the map or even the objectives that you have to escort. You could potentially bounce attacks off the ceiling or from the walls, as long as enemies are within range of the ankh itself, they’ll still get hit.
Even if you aren’t securing final blows, your damage alone can open up opportunities for your teammates to finish off key targets.

Shaking Off Divers
In the event that they have somebody like Star-Lord, Spider-Man, or any other diving/flanking duelists, be mindful of their position at all times. If you know they’re coming for you or your healers, poke ’em with basic attacks and save the ankh for when they get too close.
A few shots (even better if it hits their head) are usually enough of a deterrent, but if they still go for the dive, then it’s time for an ankh on the ground. As long as you react fast enough, you should be able to melt them with ease. If they’re not too erratic, you might not even need the bounce assist.
You could also try to disengage with Midnight Hook and pray that your healers can top you up in time, but I’ve found that it’s usually too slow for escapes.
Some General Tips
Lead Your Shots
Moon Knight’s projectiles are relatively slow, so you have to lead your shots if you want them to land. The ankh solves this issue every now and then, but relying on it 24/7 is a bad habit that will just lead you to miss out on a lot of damage. Get used to predicting where people are going and aiming slightly ahead of them.
Practice shooting Crescent Darts at the moving bots at the Practice Range if you have to. It’s not going to be representative of how actual players move, but it should be enough to give you a feel for how his attacks work and how much you have to aim ahead for the most part.

Focus On Isolated Targets
I know it’s an obvious tip, but focusing strategists is something you need to be doing whenever possible. While fighting from the backline, your damage drop-off makes it so that strategists can almost always just outheal your bounce damage.
If they’re turtling on the objective, look for an opening to take a healer down with an ankh before you start firing at the crowd. For instance, characters like Luna Snow will often be a little further behind from her team, which leaves her vulnerable to your burst damage.
Even beyond that, some duelists tend to stay further away from their team as well. Funnily enough, this means that Moon Knight himself can be a prime target, assuming the other team has one too. You’ll often find your mirror match counterpart all alone on high ground, so you can go ahead and harass each other from the rooftops.
That’s really all I’ve got for Moon Knight. He’s a fairly straightforward character to play, with the only issue being the fact that his attacks are not hitscan. Players nowadays, at least in my games, have also gotten better at breaking ankhs, but that doesn’t make him useless. You just need to treat the ankhs as conduits of burst damage rather than a means of dealing sustained DPS without aiming.
Wanna learn more? Check out my blog post that goes over all of the duelists in the game. It summarizes what every damage dealer can do!